Agility Academy: take courses and earn certifications. Learn at your own pace - it's free! Learn More
Deploying Gatsby to Netlify
This guide will cover how you can deploy our Gatsby Blog Starter using our Automated Netlify Deployment.
Deploying to Netlify
You will need to have a GitHub and a Netlify account to get your project deployed.
To start, head by going into Settings > Sitemaps, then click Setup Deployment.

Select the Netlify Automated Deployment.
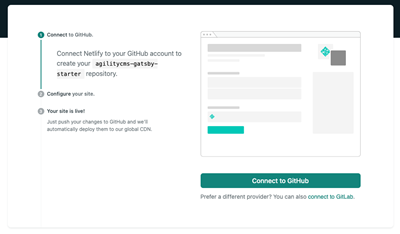
Allow Netlify to connect with your Github account.
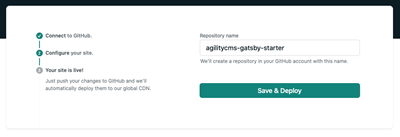
Next, Netlify will create a repository in your GitHub account with the name you choose. When you're ready, click on Save & Deploy.
Once complete, Netlify will deploy a copy of the Agility CMS & Gatsby Starter Template on a unique domain.

Setting Up a Production Domain in Agility
To set up your Production Domain in Agility, copy the Deployment URL Netlify generated for you upon deploying your site. Set up a deployment in Agility by going to Settings > Sitemaps and click on the Setup Deployment button. From there, select a Custom Deployment.
Enter your deployment details and click Save.
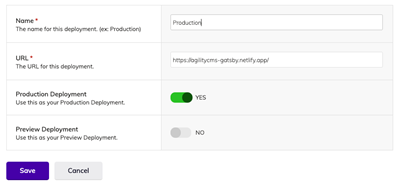
Your Production Domain will then be configured.

Setting Up Preview
When setting up a Preview Environment for Gatsby, we recommend using the Gatsby Cloud platform, specifically created for the Gatsby framework.
Configure Gatsby Cloud Previews
Rebuilding Your Site with Webhooks
You can rebuild your Gatsby site deployed on Netlify with Webhooks. In Netlify, go to Site Settings > Build & Deploy > Build Hooks to create a new webhook. Give your webhook a name a select a branch you would like to rebuild. Click Save and copy the URL Netlify generates for you.

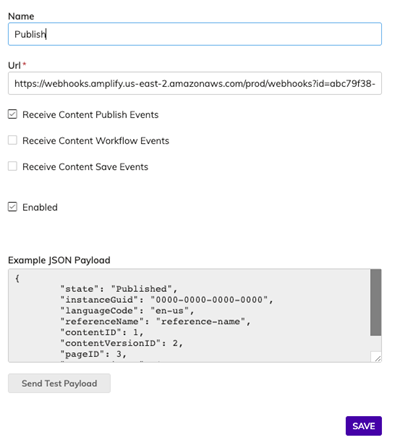
In Agility, go to Settings > Web Hooks to add a new webhook. Give your Webhook a name and paste in the URL.
For Production builds, make sure Receive Content Publish Events is checked off.
For Preview builds, uncheck Receive Content Publish Events, and check off Receive Content Save Events.
You can test the Webhook by sending a test payload.
